
Pre-Shipment Stone Inspection Photos for Export Orders
Back in the day…, a developer asked us for “a few nice inspection photos” before loading a stone package. I sent back a full list instead. He laughed and said I was being too strict. Three weeks later, one crate arrived with chipped corner protection, and the same developer asked whether we had photos before packing. Take it from me, nobody asks for fewer photos after a problem appears.
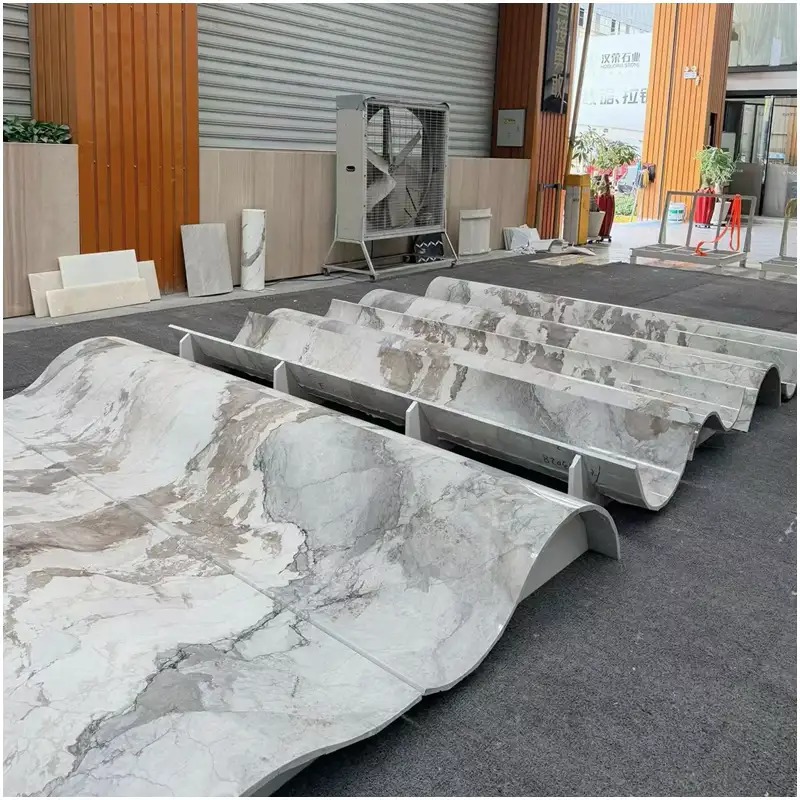
Pre-shipment stone inspection photos are the evidence trail between approval and delivery. They show what the factory saw, what the project team accepted, how the pieces were packed, and whether the loading condition matched the record. You can’t skip this step because memory does not survive a container route change.
This article sits beside the shipping mark and loading record guides. A crate mark identifies the box. A loading record shows sequence. Inspection photos prove the material and condition before the crate closes.
The bigger workflow remains Natural Stone Project Procurement: The Complete Step-by-Step Guide for Export Orders. If inspection photos are weak, the whole procurement record gets weak at the exact moment people need it most.
Why Pre-Shipment Stone Inspection Photos Need A Checklist
Random photos create random protection. I have seen folders with twenty close-ups of one pretty slab and no photo of the edge profile. I have seen dry-lay photos with no piece numbers. I have seen packing photos where the label is hidden behind plastic wrap. Back in the day…, we learned those lessons the hard way.
A stone inspection photo checklist keeps the camera honest. It tells the inspector what to photograph before the crate closes. It also tells the client what has been checked. That matters when the project includes mixed finishes, special edges, or area-by-area packing.
For a job using Tundra grijs marmeren plaat, for example, I want full-slab tone photos, finish photos, edge photos, and crate label photos. If the project has several wall zones, each zone needs its own record.
What The First Photo Set Must Prove
The first set proves material identity. It should show the slab or cut piece with the project code, material name, finish, thickness, and piece number. Do not send photos so close that nobody can see the whole piece. Do not send photos so far away that nobody can see the finish.
Take it from me, a blurred label photo is almost the same as no label photo. If the photo cannot be read at normal screen size, retake it before the piece moves.
Inspection Photo Table For Export Orders
This is the record I expect before a serious shipment moves from inspection to packing.
| Photo Group | Required View | What It Proves |
|---|---|---|
| Material identity | Full piece, label, thickness, finish | Correct material and approved finish before packing. |
| Dry-lay | Area view, piece numbers, transition points | Correct sequence and visual match for project areas. |
| Edge and cutout | Close edge, corner, hole, notch | Fabrication matches drawing details before shipment. |
| Verpakking | Foam, brace, crate inside, label | Protection method matches fragility and piece type. |
| Laden | Crate sequence, final load, seal number | Crates entered the container in recorded condition. |
The Hard-Won Lesson: A Pretty Photo Is Not An Inspection Photo
A villa project approved marble stair treads from polished front photos. The photos looked clean, but they did not show the back edge or underside groove. At the site, three treads had a groove position that did not match the fixing detail. The pieces were usable only after field adjustment, but the installer lost two days and blamed the factory. The photo set had never proved the groove.
The Lesson: Photograph the detail that can stop installation, not only the face that looks good.
How I Organize Dry-Lay And Packing Photos
A dry-lay photo record needs piece numbers visible on the stone or beside the stone. If the numbers are on a separate sheet only, the site cannot see how the layout was approved. I prefer one wide photo, several section photos, and close photos at transitions.
Voor Witte Carrara Marmeren Platen, tone and vein continuity matter. A wide dry-lay photo helps the project team see whether the wall or floor reads as one controlled area. Close-ups alone cannot do that.
Packing photos need the same discipline. Show inside protection before the crate closes. Show edge protection on long pieces. Show label and crate number after closing. You can’t skip this step. Once the crate is sealed, guessing begins.
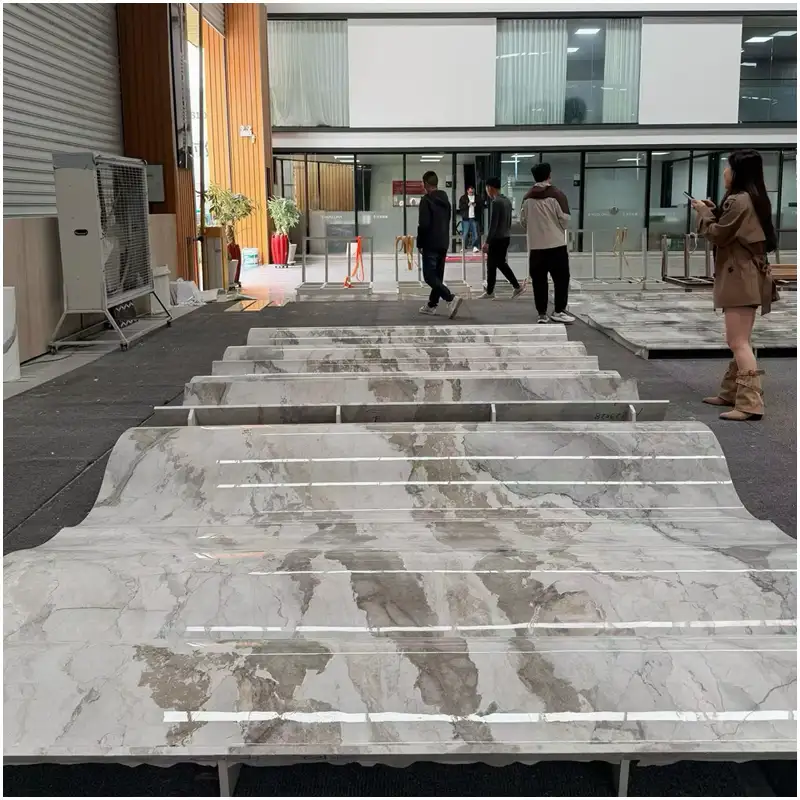
Photo Naming Saves Time Later
I do not accept folders named “inspection final final.” Use project code, area code, piece number, and photo type. If the photo shows piece P-034 edge detail, the name should say that. A folder with clean names can save hours when a site asks a question.
For stone like Super Witte Kwartsietplaat, I also ask for light-angle photos. Some movement appears softer from one angle and stronger from another. The goal is not drama. The goal is honest approval.
Photograph The Boring Details Too
The boring details are the ones that save the claim file. I want the underside groove, the drilled hole, the edge protection, the crate corner, the inner foam, and the final label. Pretty face photos are useful, but they do not prove the parts that stop installation. Back in the day…, we had a stair job where every tread face looked correct and the fixing groove was the real issue.
You can’t skip this step. If the project includes a special edge, one photo must show a ruler or gauge beside that edge. If the crate includes mixed sizes, one photo must show the size grouping before wrapping. Take it from me, a clear boring photo is worth more than ten dramatic photos when a site asks for proof.
Keep The Client Approval In The Same Folder
An inspection folder is weak if it only shows factory photos and no approval trail. I want the client’s approval note, the drawing revision, the material code, and the photo set stored together. When someone asks why a piece was packed, the answer should be visible in one folder, not buried in five chat groups.
Back in the day…, we had a project where the factory photo was correct, but the client’s approval was sent in a separate message thread with a later revision. The team lost hours proving which version was final. Since then, I keep approval screenshots or signed PDFs beside the inspection photos. It is not fancy. It works.
If the order includes multiple finishes, I also ask for a finish sample photo beside the approved piece. Honed, brushed, leathered, and polished finishes can look different under warehouse light. A finish record saves argument when the site sees the stone in a darker room.
I keep the same discipline for replacement pieces. A spare stair tread, wall panel, or threshold should have its own photo before wrapping. If the site needs it later, nobody should wonder whether the spare came from the approved batch or from a convenient corner of the warehouse.
Understanding Inspection Photos In Today’s Export Market
Why Claims Start With Weak Records
When a shipment arrives late or damaged, everyone looks for evidence. If the factory has clear photos, the discussion can move quickly. If the photos are vague, people argue about what might have happened. A cut-to-size project order deserves a record that can survive pressure.
Pre-shipment stone inspection photos also protect the site team. They let receivers compare crate contents before installation. They let project managers identify missing pieces faster. They help the supplier answer without asking the factory to remember one crate from three weeks ago.
What To Do If Photos And Delivered Pieces Do Not Match
If the delivered piece does not match the inspection photo, stop installation from that crate. First, photograph the delivered piece, label, crate, and area where it was found. Second, do not proceed with related pieces until the mismatch is checked. Third, contact the supplier with the original inspection photo set, packing list, crate mark, and delivery notes for comparison.
FAQ
1. What photos should be included before a stone export shipment?
The set should include material identity, finish, thickness, dry-lay, piece numbers, edge details, cutouts, packing protection, crate marks, loading sequence, container number, and seal number. Not every project needs the same number of photos, but every photo needs a clear purpose.
2. Why are pre-shipment stone inspection photos important?
They prove what was approved and packed before the shipment left the factory. They also help the site compare delivered pieces against the original condition. Without them, disputes depend on memory, and memory is weak when freight delays, multiple crates, and site pressure are involved.
3. How should inspection photos be named?
Use project code, area code, piece number, view type, and date. For example, a dry-lay photo should show the area and piece range. A label photo should show the crate number. Clear names make the folder searchable when the site asks a question.
4. Are packing photos different from inspection photos?
Yes. Inspection photos prove the stone details. Packing photos prove how the accepted pieces were protected and marked before loading. A complete record needs both. If the project has fragile edges or special cutouts, packing photos become especially important.
5. What should I do first if a delivered piece does not match the photo?
Photograph the delivered piece, crate mark, label, and installation area before moving more material. Do not install related pieces until the mismatch is checked. Then send the supplier the original inspection photo, packing list, crate record, and delivery photos for comparison.
Quick-Reference Checklist for Inspection Photos
- Photograph each approved piece with its label and piece number visible.
- Capture dry-lay areas with wide views and close transition photos.
- Record edge profiles, cutouts, grooves, holes, and corner details.
- Photograph inner packing protection before the crate closes.
- Match photo names to project code, area code, and piece number.
- Save loading and seal photos in the same project evidence folder.
Final Conclusion
Pre-shipment stone inspection photos are not a photo update for comfort. They are a project record. They prove material, finish, edge detail, dry-lay sequence, packing method, crate mark, and loading condition before the shipment leaves.
Back in the day…, I learned that a pretty photo can still be useless if it avoids the detail that stops installation. Take it from me, I would rather ask for ten clear evidence photos than defend one beautiful but empty image to our FOR U STONE project partners.
Referenties
Dimension Stone Design Manual, Natural Stone Institute.
ASTM International Stone Standards, ASTM International.
Red Sea / Gulf of Aden Situation, Maersk.
Middle East Operational Update, Maersk.
Freight Procurement Strategy Guidance, Xeneta.
Google Search Central Editorial Notes, Google Search Central.